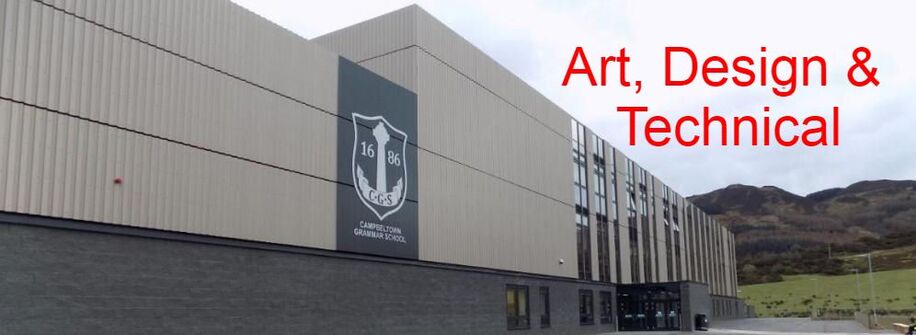
Art Technical at Campbeltown Grammar School
  • Home
    • Contact Mr. Lewis
  • Technical
    • S1-3 Technical
    • S4-6 Technical
    • ACFE Courses Technical >
      • Design And Manufacture
  • Art
    • P7 Transition Week
    • S1-3 The Junior Phase >
      • S1-3 Helpful Video Links
      • S1 Overview >
        • S1 Folder Design
        • Tone
        • Escher - Tessellations
        • Line
        • Colour
        • Texture
        • Pattern - Aborigine Art
        • Clay Faces
        • Van Gogh
        • Archimboldo
        • Halloween Masks
      • S2 Overview >
        • 4 Styles of Art Unit
        • Walk in their Shoes
        • Texture & Form
        • Pattern - Hundertwasser
        • Japanese Notan Christmas Cards
        • H.R. Giger Style Chair
        • Swatch unit
        • Perspective
        • S2 Clay Construction Project - Buildings
        • Composition
        • Op Art
      • S3 Overview >
        • S3 Design Work
        • S3 Expressive Work
        • S3 Extra Homework Ideas
        • S3 Clay Projects
      • Literacy
      • Post Lockdown Clay Stuff
    • S4 - 6 The Senior Phase >
      • S4-6 Pupil's Work >
        • Old Senior Work >
          • 2013 senior work
          • 2014 senior work >
            • National 5 Expressive Unit Work
            • National 5 Design Unit Work
          • 2015 senior work
        • New Senior Work
      • Senior Revision Area >
        • The Written Exam
        • Nat 5 Portfolios
        • Higher Portfolios
      • ACFE >
        • Nat 4
        • Nat 5
        • Higher
      • Senior Phase Assessment Documents
      • Helpful Worksheets
      • Helpful Web Links
      • Helpful Video Links
    • Competitions
    • Animation Projects
    • Badges Mirrors Keyrings and Magnets
    • T Shirts
    • Gallery >
      • New Work
      • Old Work >
        • Art Project - Stage Sets
        • ICT Project - Website Design
        • Murals Displays and Exhibitions
        • Outstanding work 2012-2013
        • Outstanding work 2013-2014 >
          • Caillin Broatch's Architecture Unit
          • Justine Nawrot's work 2014
          • Connor Ewart's Pivot Stick Figure Animations
        • Outstanding work 2014-15 >
          • Caillin Broatch
          • Kyle King
          • Gareth McMurchy
          • Fraser Bassett
          • Tabitha Broatch
          • Hannah Black
    • Famous Designers >
      • Art Nouveau
    • Famous Artists >
      • Leonardo Da Vinci
      • Picasso
      • Salvador Dali - Surrealism
    • Rights Respecting School Projects >
      • Baby Box Competition
    • Art Club
  • School Website

H.R. Geiger Style Chair - Group Project


Group Project


  • 3D Life Size Chair for a themed pub or restaurant
  • Based of the movie Alien and the designs of Geiger
Group A  - Construction – must support weight of average human

Stage 1

Scale model must support 10 kg weight

Ergonomics – what is a comfortable seating position?

Where is all the weight distributed when you sit on your chair?

Stage 2

Build a full size model of your scale model - the same height as the chairs in class.  Either square or rectangular depending on the designs of Group B

Stage 3

When you get the base supporting the weight you want, have a look at the chair back design that group B have produced.  Start producing a strong basic shape around which the back can be built - try it on the small scale model first.  It has to attached to the base you have built so that when a human's weight is pressed against it, it doesn't detach from the base.

Group B - Overall Shape – Looking at Geiger designs how can you build a shape to the chair around the basic construction

Stage 1
 
Individual designs based on Geiger shapes

Stage 2
 
Get together as a group and combine your ideas – choose the elements that you like best from everyone’s designs thinking about Giger shapes and Ergonomics.

Stage 3

Using the scale model made by Group A, start building your design around the model.  Work out the best ways to construct your design.  Paper mache the corners for a smooth effect.

Group C  - Surface Pattern and finish looking at Geiger designs and using materials creatively


Stage 1

Individual designs based on Geiger shapes

Stage 2
 
Find construction materials that you can use to make a Geiger style textured surface – produce a sample panel.  Use string glued to cardboard for the long linear shapes and we'll press aluminium foil over it for a textured surface.  Work out what construction materials the department has are suitable for your design.

Stage 3

Start consulting with group B and work out what textures are going to work best on what areas of the design - Start collecting the materials you will need to make the surfaces on the chair.  As Group B finishes a section, start decortaing it with the surface s you have made, or directly apply texture to surface of chair.

Stage 4 - All Groups

Now that you have a finished scale model all groups need to consult together to create the final full sized piece.  Group A and B should consult with each other during the construction to make sure the chair supports the weight of an average human and conforms to the design of the scale model.

Group C should consult with Group B about the decoration of sections of the chair and prioritise areas according to when they are built.  All groups should consult at the end for the final detail and decoration with Group C directing the final decoration.

2A

H R Giger.com
Giger.com

2D

Powered by Create your own unique website with customizable templates.